Cabinet removal is a vital part of many kitchen renovations. It may look simple, but it’s important to do it carefully to prevent damage to your walls. This guide will provide a step-by-step method for removing cabinets safely. We will share tips on how to protect your walls, stay safe, and make sure your renovation goes smoothly.
Essential Tools and Materials for Cabinetry Removal
To remove cabinets without hurting your walls, it’s important to use the right tools and materials. If you gather everything you need ahead of time, the job will go much easier and faster.
Basic Toolkit for DIY Cabinet Removal
A good toolkit is important for removing cabinets easily. You should have:
-
A pry bar
-
A hammer
-
A set of screwdrivers (both Phillips and flathead) or a power drill
-
A sharp utility knife
A pry bar helps carefully take the cabinets off the walls without causing damage. You will use the hammer with the pry bar to get better leverage when needed. The screwdrivers are key for taking out the visible screws that hold the cabinets to the wall studs and to each other. The utility knife is useful for cutting through caulk or paint that may be sealing the spaces between the cabinets and the walls.
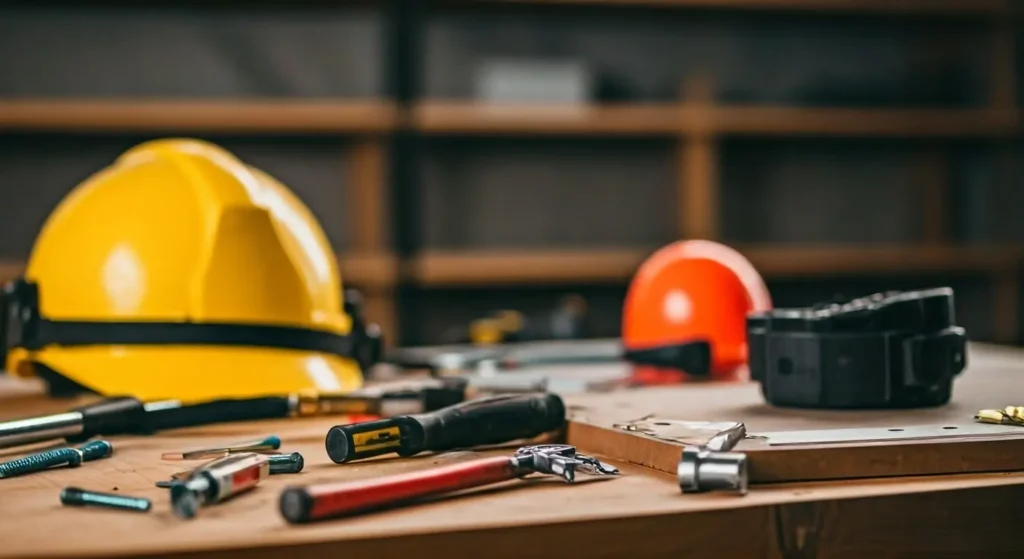
Safety Gear to Protect Yourself
Protecting yourself during any DIY project is very important. Make your safety a top priority by using essential items like safety goggles and work gloves. Safety glasses keep your eyes safe from dust, small bits of wood, and anything that might fly at you during the removal. Work gloves protect your hands from splinters, sharp edges, and cuts.
Protective Materials to Guard Your Walls and Floors
Protecting your walls and flooring during cabinet removal is very important. You should cover your floors with drop cloths or old blankets.
Use thick and strong drop cloths to keep your floors safe from scratches, dents, and any dropped tools or debris. Put the drop cloths in place and use painter’s tape to stop them from moving around while you work.
If you’re worried about harming your walls, especially if you have fragile drywall, you can attach thin plywood sheets to the wall. This will create some space between the pry bar and the wall. It will help reduce the chances of damage.
Preparing Your Space for Cabinetry Removal
Safely Turning Off Utilities
Before you start taking out cabinets, you need to turn off the electricity in the kitchen to avoid the risk of getting shocked. Find your home’s breaker box, look for the breaker that controls the kitchen, and flip it to the “off” position. Check the outlets in the kitchen afterward to make sure the power is totally dead. (If you are not sure about anything, it is always best to get help from a qualified electrician).

Clearing and Protecting Your Workspace
A clean and safe work area speeds up the process. Start by emptying your cabinets entirely. Take out all dishes, food, and other items. Move or protect any nearby appliances, like your microwave or coffee maker. If you have a kitchen island, clear it off to create more space.
To keep your countertops safe, cover them with old sheets or drop cloths and use painter’s tape to hold the covers in place.
Identifying Mounting Points with a Stud Finder
Before you take out your cabinets, find the wall studs behind them. You can do this with a stud finder. Knowing where the studs are will help you not to damage them when you remove the cabinets. Hold the stud finder horizontally along the wall where the cabinets are. Mark the spot of each stud with a pencil. In many homes, the wall studs are usually 16 inches apart.
By understanding the structure behind your cabinets, you can remove them in a more careful way. This will mainly affect where the cabinets attach to the wall and will reduce the chance of harming the wall.
Step-by-Step Guide to Damage-Free Cabinet Removal
Removing cabinetry can feel challenging, but you can do it right with a careful method and good planning. Be patient as you work through this process. Take your time and be thoughtful in what you do. Focus on each step. Use the right tools and handle everything gently. This way, you can take down your cabinets without hurting your walls.
Step 1: Remove Cabinet Doors and Shelves
First, take off the cabinet doors. This will make the cabinets lighter and easier to handle. Use a screwdriver to loose screws that hold the hinges to the cabinet frame. Be careful not to hurt the cabinet front. If you want to use old ones instead of new doors, label them with masking tape and a pen. This will help you put them back in the right order later. After you take off the doors, remove any shelves inside the cabinets. This will make the cabinets safer and easier to take off the wall.
Step 2: Cutting Through Paint or Caulk Seals
Over time, paint or caulk might have made a seal between your cabinets and the wall. Take your utility knife and carefully cut along the top of the cabinets and sides as well. This will break through any caulk or paint lines. This step is important because it stops the caulk or paint from tearing off big pieces of drywall when you take the cabinets down. So, work slowly and carefully. Make sure you cut through the whole seal.
After you have scored the caulk or paint, gently put a putty knife between the cabinet and the wall where you made the cuts. Wiggle the putty knife a little to loosen the seal more. This will help you separate the cabinets from the wall without causing damage.
Step 3: Detaching Screws and Fasteners
With the doors, drawers, and shelves taken out and the caulk or paint seal cut, you can now focus on taking off the cabinets. First, find the screws or other fasteners that hold the cabinets to the wall studs. Usually, these screws will be inside the cabinet box, often found on the back panel or the edges at the top and bottom.
Use your screwdriver to carefully take out the screws. Be sure to keep track of them as you work. It’s a good idea to have a container close by to store the screws and any other hardware. This will help you avoid losing anything during the job. If some screws are hard to remove, try using your drill with a screwdriver bit to loosen them. You can also use an extractor tool for unscrewing if the screws are stripped or damaged.
Step 4: Gently Loosening the Cabinet from the Wall
Once you have taken out all the screws and fasteners, it’s time to gently pull the cabinets away from the wall. Position your pry bar behind the back of the cabinet at a stud location. Apply steady and even pressure on the pry bar to start moving the cabinet away from the wall. If you feel any resistance, check again to make sure all the screws are removed.
Keep going along the back of the cabinet, prying at each stud location until the entire cabinet is free from the wall. Do not use too much force, as this can harm both the cabinet and the wall.
Step 5: Safely Removing the Cabinet with Support
With the cabinet loose from the wall, you should get help from a partner if you can. This will make it safer to lower the cabinet to the floor. Talk openly with your partner to coordinate your movements. This way, you can avoid any accidents.
If you are working alone, think about using furniture dollies or other aids to help with the cabinet’s weight as you pull it away from the wall. It’s also a good idea to have a strong stool or ladder nearby. This will give you extra safety and support when you take out the cabinet.
Keep in mind that cabinets can be heavier than they seem. Never try to remove one without enough support. Take your time and handle the cabinet carefully. This will help you avoid accidents and injuries.
Post-Removal Wall Repair and Cleanup
After you take out your old cabinets, you need to fix any damage to the walls. This is important for getting ready for your new cabinetry. Check the walls for problems like screw holes, dents, or torn drywall. Fixing these issues before you put in your new cabinets will help give a nice, clean look. Taking some time to repair the walls and clean up will help you get great results in your kitchen renovation project.

Inspecting and Repairing Wall Damage
Once you remove your old cabinets, check the walls behind them for any damage. Common problems are screw holes, dents in the drywall, or spots where the wall has been damaged. Fixing these issues is important before you add your new cabinets.
For small screw holes and dents, use a putty knife to spread a little lightweight spackle or drywall compound. Press down to fill the hole or dent fully. Then, smooth the surface with the putty knife, blending the edges with the rest of the wall.
If there are larger holes or more serious damage, you might need a drywall patch. Cut a piece of drywall to be slightly bigger than the damaged area. Attach the patch to the wall using drywall screws. Next, place drywall tape and compound over the seams to make a smooth, even surface.
Tips for a Clean and Smooth Finish
After fixing any damage on the wall, give the spackle or drywall compound enough time to dry fully. Check the product instructions for how long it should take to dry. Once the patched areas are dry, use fine-grit sandpaper to smooth out any rough spots. This will help it blend nicely with the rest of the wall. After that, wipe away any dust with a damp cloth.
To finish, paint the whole wall, including the patched areas, for a perfect look. Pick a paint color that goes well with your new cabinets and improves your kitchen design.
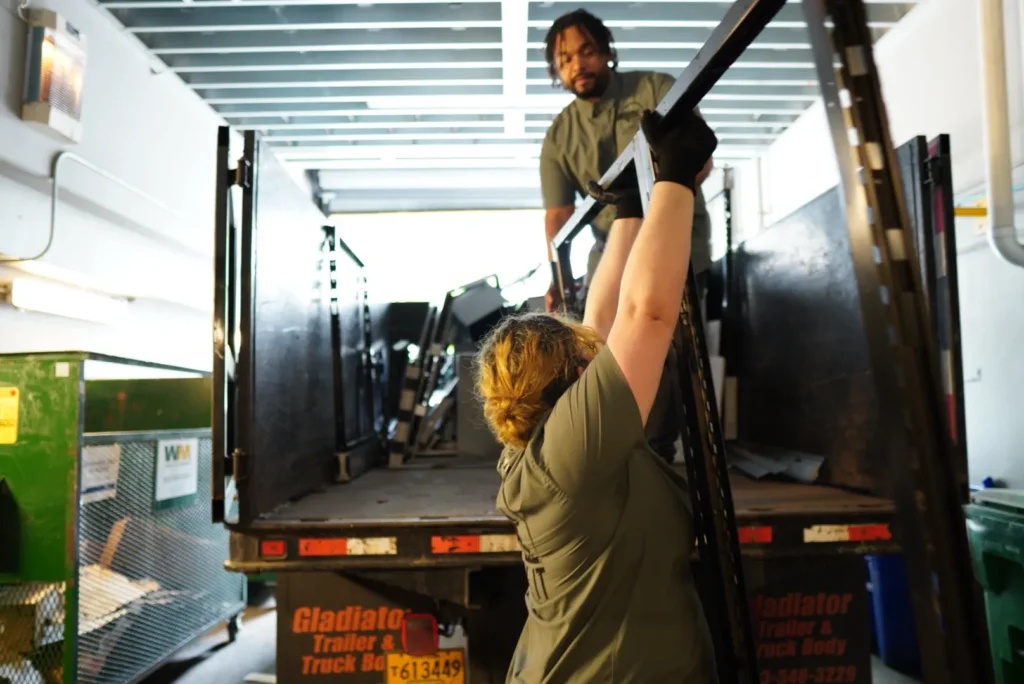
Let Junk It Junk Handle Cabinet Removal in Portland
If this sounds like a lot of work (or if you just don’t want to deal with it), Junk It Junk offers professional cabinet removal in Portland. Our team comes fully equipped with all the tools and expertise needed to safely take down and remove cabinets without damaging your walls or floors. We’ll handle everything from the disassembly to the cleanup, saving you the hassle and heavy lifting.
With years of experience, we make sure your cabinetry removal goes smoothly, so you can focus on your remodel without worrying about cleanup or repairs. Ready to get started? Just give us a call, and we’ll take care of the rest!